Start typing in the search bar to see suggestions.
Use contactless time clock to create timesheets into Deputy
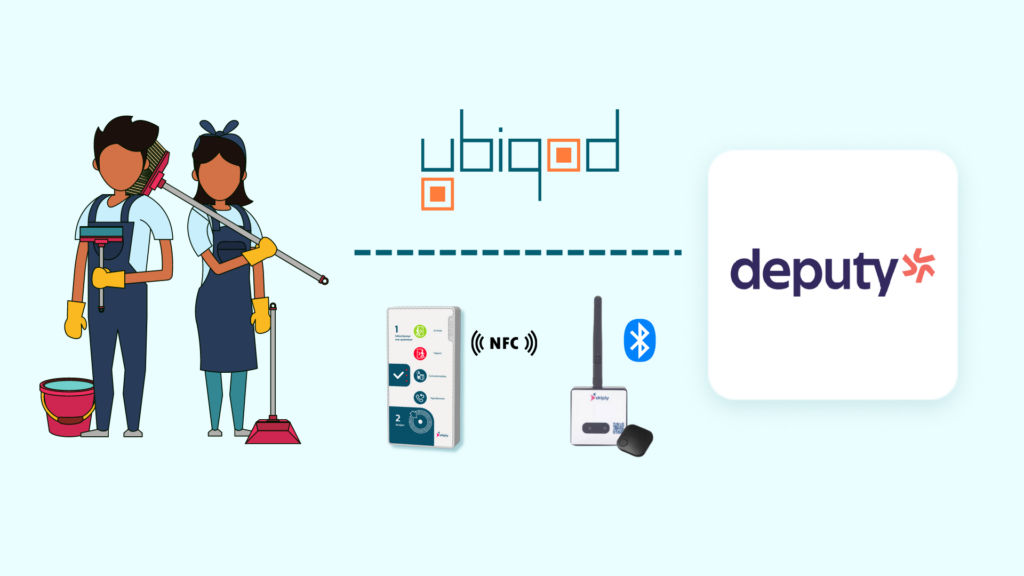
Deputy is an amazing scheduling, timesheet, and time clock software. It offers an out-of-the-box mobile app and desktop solution for time tracking. In this tutorial, we will show how to connect Skiply’s Bluetooth contactless time clock (Clock R) to Deputy. With Clock R, workers can clock in without having to do anything (they don’t even need to own a smartphone); they are automatically detected by our system.
The same principles apply and can be used with our NFC time clock or Ubiqod Key. If you do not have a Clock R, you can test this scenario with a QR code generated within the platform.
The user journey unfolds as follows:
When a worker arrives on site, they are automatically detected, and a timesheet in Deputy begins.
When the employee leaves, this action ends the timesheet in Deputy.
We will utilize Make, a no-code tool, to implement the system’s logic.
Make scenario
If you are not familiar with Make, you can start here.
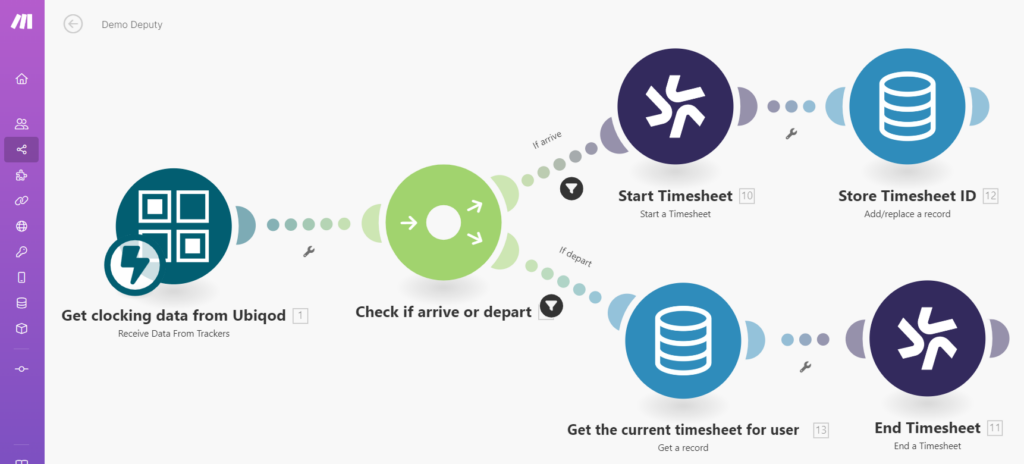
The Make scenario is implemented as follows:
We receive data from Ubiqod with the trigger “Receive Data From Trackers”.
We use a router with filters to determine if the data received corresponds to an arrival or a departure.
For an Arrival, we initiate a new timesheet in Deputy and store its ID in a Make data store, based on the code ID (i.e., badge number).
For a Departure, we retrieve the ongoing timesheet using the badge number from the Make data store and conclude the corresponding timesheet.
Ubiqod configuration
In your Ubiqod backend:
Create a badge list in the interface section
For each badge number, associate an external reference (for instance “deputy_id”), corresponding to the employee ID in Deputy, like this:
![]()
Create a Clock R interface Clock R interface and associate the previously created badge list (in the OPTIONS section)
Associate your Clock R (trackers) to this interface and to the Make connector created before.
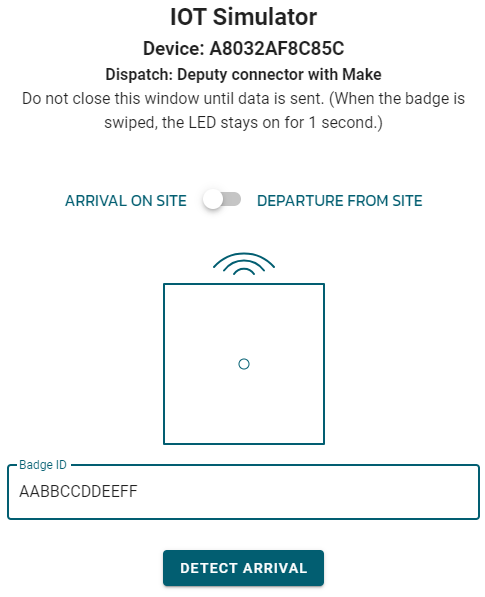
Test your Deputy Timesheet integration
You can use the simulator to test your new App (accessible from the IoT tracker list):
After simulatig an Arrive, you should see something like this in Deputy:
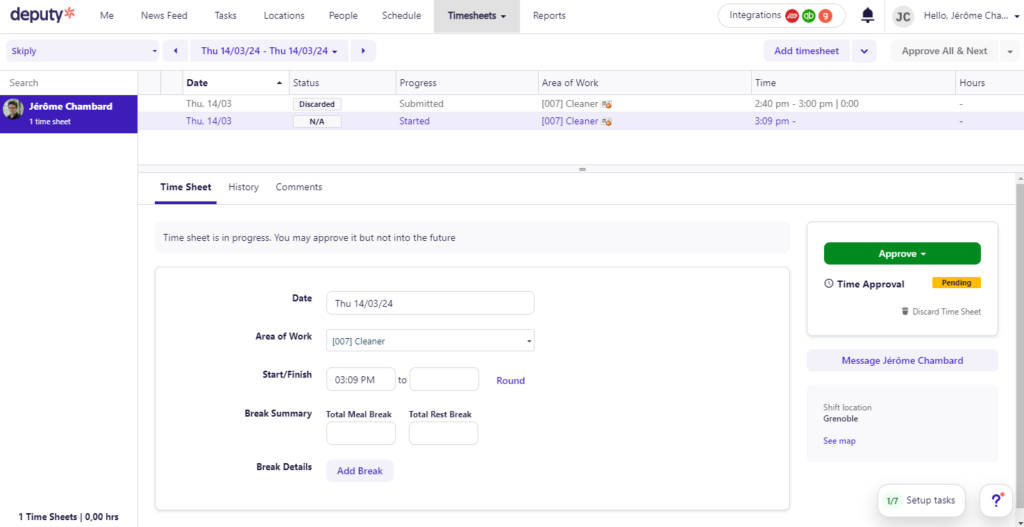
You can add automatically a break from the Make scenario if you want.
Enjoy!